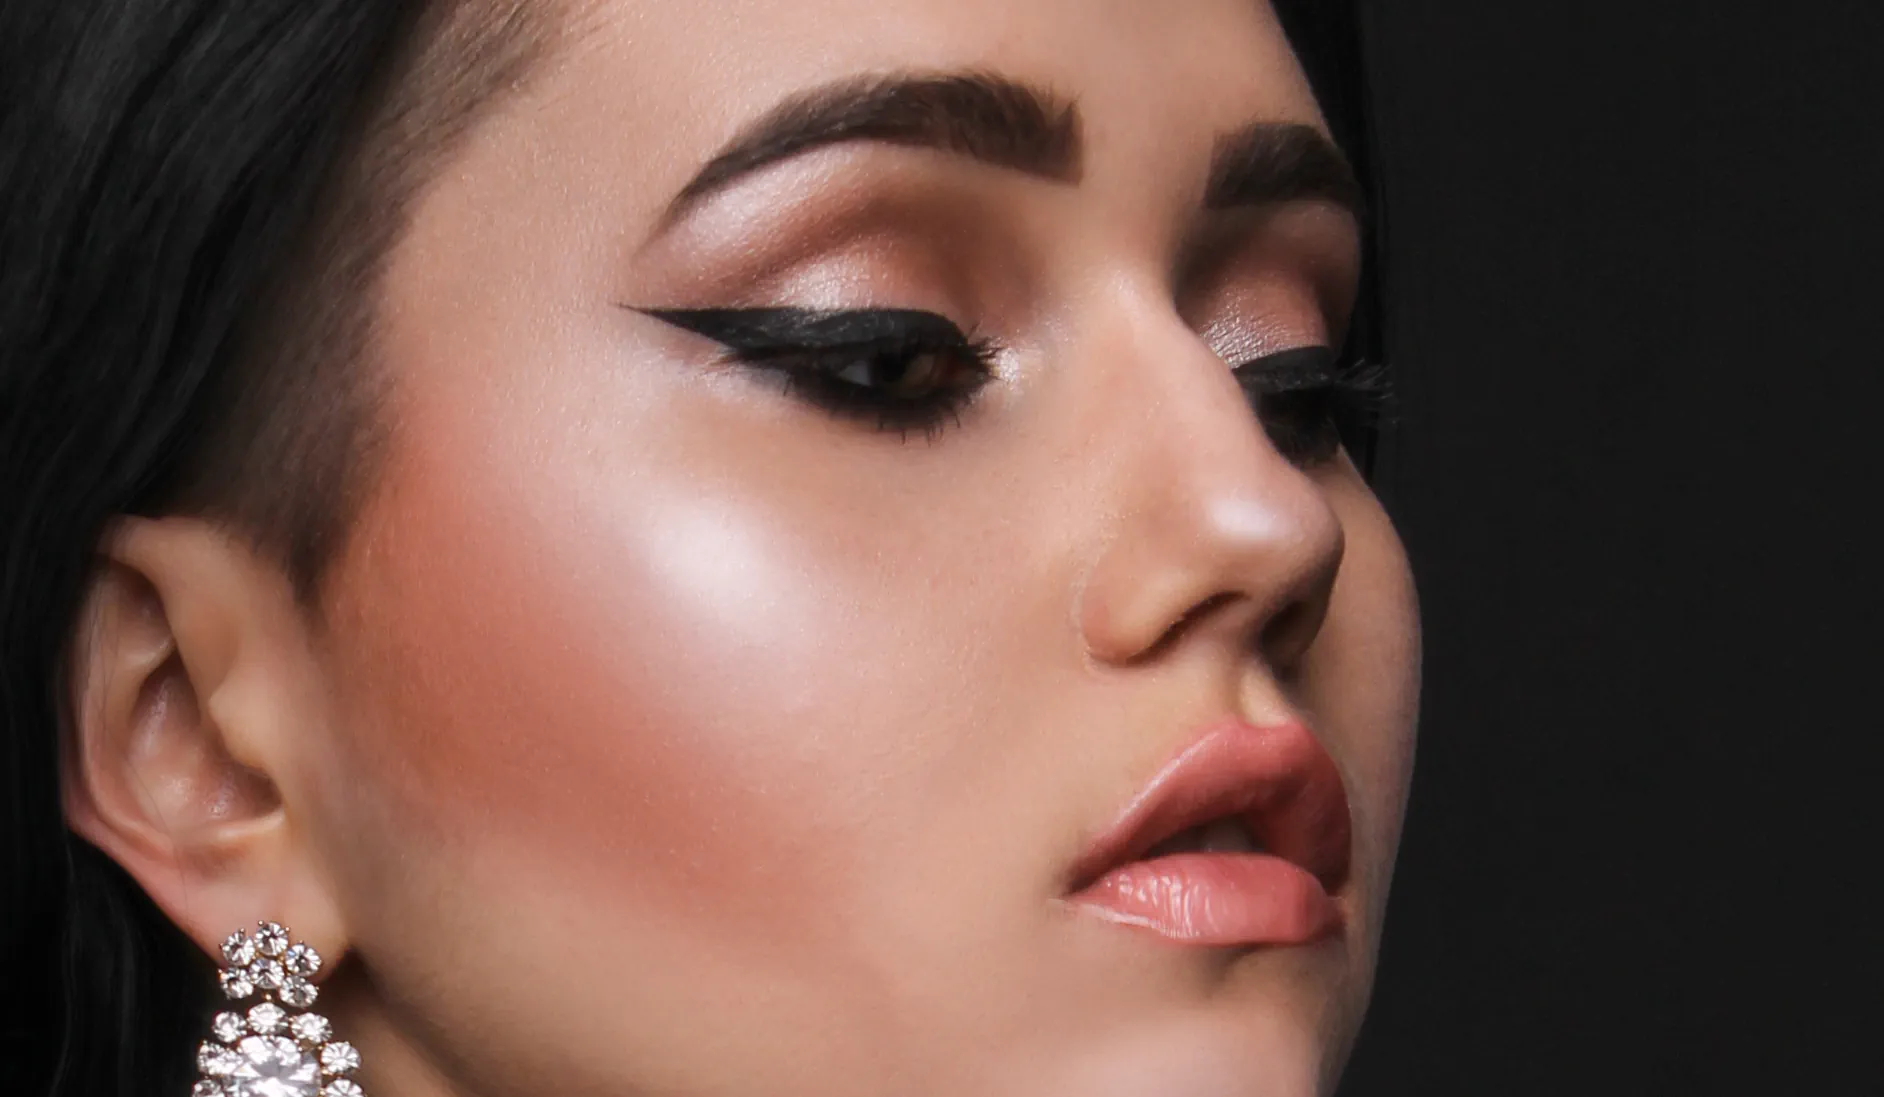
Highlighter - Make-Up - How to Apply
The highlighter is the last step in your make-up routine. Start by washing your face, using a toner and a lightweight moisturizer. After this, apply your normal foundation, and concealer if necessary. Apply the highlighter using your finger, a brush or sponge depending on the type (see below). Highlighter is designed to highlight the high points of your face, so apply it to the top of your cheekbones, brow bones, cupid’s bow (along top of upper lip), the bridge of the nose and even the tip of the nose. Apply to the cheekbones following the natural curve of the face using long, continuous strokes. Avoid your forehead, middle of your cheeks and chin, as these can be oily and a highlighter may cause excessive shine here.
Creamy highlighters work well on dry skin and can be used with or without foundation. They are best applied with a finger. Powder highlighters are better for oily skin and should be applied over foundation with a brush or sponge.
Liquid highlighters can be tricky to apply as they can break the foundation layer below, so apply as follows - place three dabs of liquid highlighter on the top of each cheekbone, tap it in with a highlighter brush and blend quickly. For other places you want a less intense effect, so dab the highlighter on to the back of your hand and use the same brush to pick it up and apply to the skin.
Pencil highlighters can be used for specific areas, such as the cupid's bow.
Fan brushes are good for light coverage. Stippling brushes give a denser coverage, Use a dampened beauty sponge for the deepest coverage. Use a pencil brush or pencil highlighter in small spaces, such as the eyes or nose and blend out using your finger.
Highlighters can be made at home by combining eyeshadow of the appropriate colour with gold dust powder, mixing with a couple of drops of coconut oil or shea butter and adding moisturizer for consistency.